
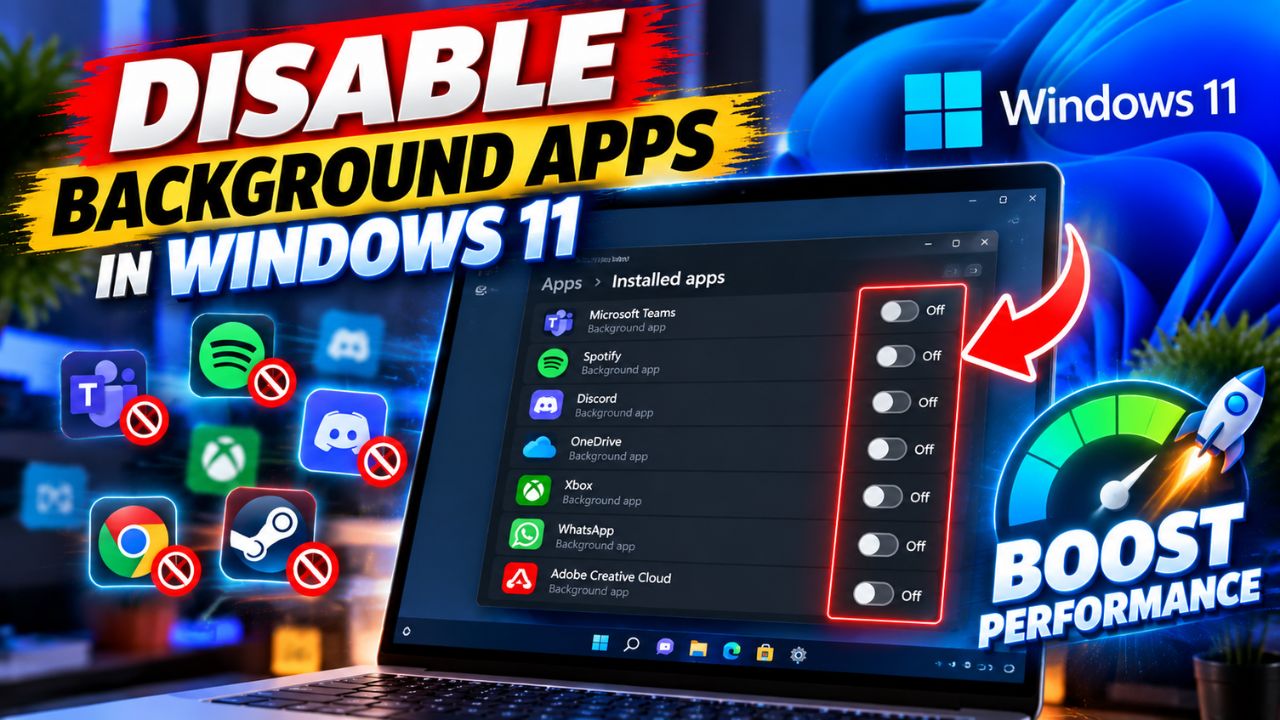
Is your Windows 11 PC running slowly, taking too long to start, or draining your laptop battery faster than usual? Unnecessary background apps could be part of the problem.
Some applications continue running tasks, syncing files, sending notifications, or launching automatically even when you’re not actively using them. These activities can consume system resources and affect your PC’s performance.
The good news is that you can disable unnecessary background apps in Windows 11 without installing third-party software.
In this guide, you’ll learn five simple ways to manage background activity, stop unwanted startup programs, and identify apps that consume too many resources.
1. Disable Background Apps Through Windows 11 Settings
Windows 11 provides background permission controls for supported applications. This is the best place to start if you want to prevent a specific app from running in the background.
Follow these steps:
- Press Windows + I to open Settings.
- Click Apps.
- Select Installed apps.
- Find the application you want to restrict.
- Click the three-dot menu next to the app.
- Select Advanced options, if available.
- Look for Background app permissions.
- Under Let this app run in the background, select Never.
This setting prevents the supported app from running in the background through that permission. However, it may also affect notifications, automatic syncing, or other features.
Important: Not every Windows 11 application offers Advanced options or background permissions. If you cannot find this setting, try the methods below.
For additional troubleshooting advice, see Microsoft’s official guide to improving Windows PC performance.
2. Stop Apps From Starting Automatically
Some applications launch every time you sign in to Windows, even if you rarely use them. Examples include music apps, game launchers, chat programs, and other utilities.
Disabling unnecessary startup apps can reduce the number of programs competing for resources when your PC starts.
Here’s how to do it:
- Press Ctrl + Shift + Esc to open Task Manager.
- Select Startup apps from the sidebar.
- Review the list of applications.
- Right-click an app you don’t need immediately after signing in.
- Select Disable.
You can also open Settings → Apps → Startup to manage startup applications.
Start with programs you recognise and don’t need running automatically. Avoid disabling security software or unfamiliar system utilities without understanding their purpose.
Remember that disabling a startup app does not necessarily prevent it from running in the background after you open it manually.
3. Find Apps Consuming Too Much CPU or Memory
If your computer still feels slow, check which applications are using the most system resources before disabling anything else.
Follow these steps:
- Press Ctrl + Shift + Esc to open Task Manager.
- Select Processes.
- Check the CPU, Memory, and Disk columns.
- Identify applications using unusually high resources.
- Close an application you recognise and don’t currently need.
For example, a browser with many open tabs may consume substantial memory. A game launcher could also use resources while downloading updates.
If an ordinary application is consuming too many resources, select it and click End task to close it temporarily.
Keep in mind that End task does not permanently disable an application. It may start again when you reopen it or restart your computer.
Avoid ending unfamiliar Windows processes or essential security services, as doing so could cause unexpected problems.
4. Check Background Battery Usage on Your Laptop
If you use a Windows 11 laptop, battery settings can help you identify applications consuming power.
To check:
- Open Settings using Windows + I.
- Select System.
- Click Power & battery.
- Open Battery usage.
- Review the battery consumption information available for individual apps.
- If an app offers Manage background activity, open it.
- Choose Never if you don’t need the app to run in the background and the option is available.
The exact options depend on the application and Windows configuration.
Restricting background activity may help reduce unnecessary battery usage, but it can also delay notifications or stop automatic syncing. Keep background access enabled for apps whose timely updates you rely on.
5. Uninstall Applications You No Longer Use
If you have applications you never open, uninstalling them may be more useful than simply disabling their startup behaviour.
Removing unnecessary software can free up storage and eliminate background activity associated with those applications.
To uninstall an app:
- Open Settings.
- Select Apps → Installed apps.
- Find the application you want to remove.
- Click the three-dot menu.
- Select Uninstall, if available.
- Follow the on-screen instructions.
Only remove programs you’re confident you don’t need. If you don’t recognise an application, check what it does before uninstalling it.
Which Background Apps Should You Disable?
You don’t need to disable every application. Some programs need background access to provide notifications, synchronise files, or maintain security.
| App type | Recommended action |
|---|---|
| Game launchers | Disable startup if you rarely use them |
| Music apps | Turn off automatic startup if unnecessary |
| Chat applications | Keep enabled if you need instant notifications |
| Cloud storage apps | Keep syncing enabled if you rely on automatic backups |
| Antivirus software | Keep essential real-time protection enabled |
| Unused applications | Consider uninstalling them |
The best approach is to disable only applications that don’t need to run automatically. This helps you avoid unnecessary resource usage without interrupting important features.
Will Disabling Background Apps Make Windows 11 Faster?
It can help, but the improvement depends on your computer and the applications running on it.
Disabling unnecessary startup apps may reduce startup delays. Restricting background activity can reduce resource usage for supported apps, while closing programs that consume excessive CPU or memory may make more resources available.
However, disabling background apps won’t solve every performance problem. Limited RAM, low storage space, overheating, outdated drivers, or demanding applications can also make a PC slow.
If your computer remains sluggish, check Task Manager, free up storage space, and install relevant Windows updates before trying advanced fixes.
Can You Disable All Background Apps at Once?
Windows 11 doesn’t provide one universal setting that reliably disables every type of background process.
Background permission controls apply only to supported apps. Traditional desktop programs and Windows services may work differently, while disabling startup entries only affects automatic launching.
For most users, the safest solution is to manage background permissions where available, disable unnecessary startup applications, and uninstall software they no longer use.
Avoid registry changes or unfamiliar debloating tools unless you understand their potential effects on Windows.
Final Verdict
If your Windows 11 PC is running slowly, start by disabling unnecessary startup apps through Task Manager. Next, restrict background permissions for supported applications and check which programs are consuming excessive CPU, memory, or battery power.
You don’t need to disable everything to improve performance. Focus on unnecessary apps while keeping essential security software, backups, and important notifications working properly.


![How to reduce battery drain after [AndroidiOS version] update](https://unifite.in/wp-content/uploads/2026/10/How-to-reduce-battery-drain-after-AndroidiOS-version-update-218x150.jpg "How to Reduce Battery Drain After an Android or iOS Update (2026)")




![How to reduce battery drain after [AndroidiOS version] update](https://unifite.in/wp-content/uploads/2026/10/How-to-reduce-battery-drain-after-AndroidiOS-version-update-100x70.jpg "How to Reduce Battery Drain After an Android or iOS Update (2026)")