
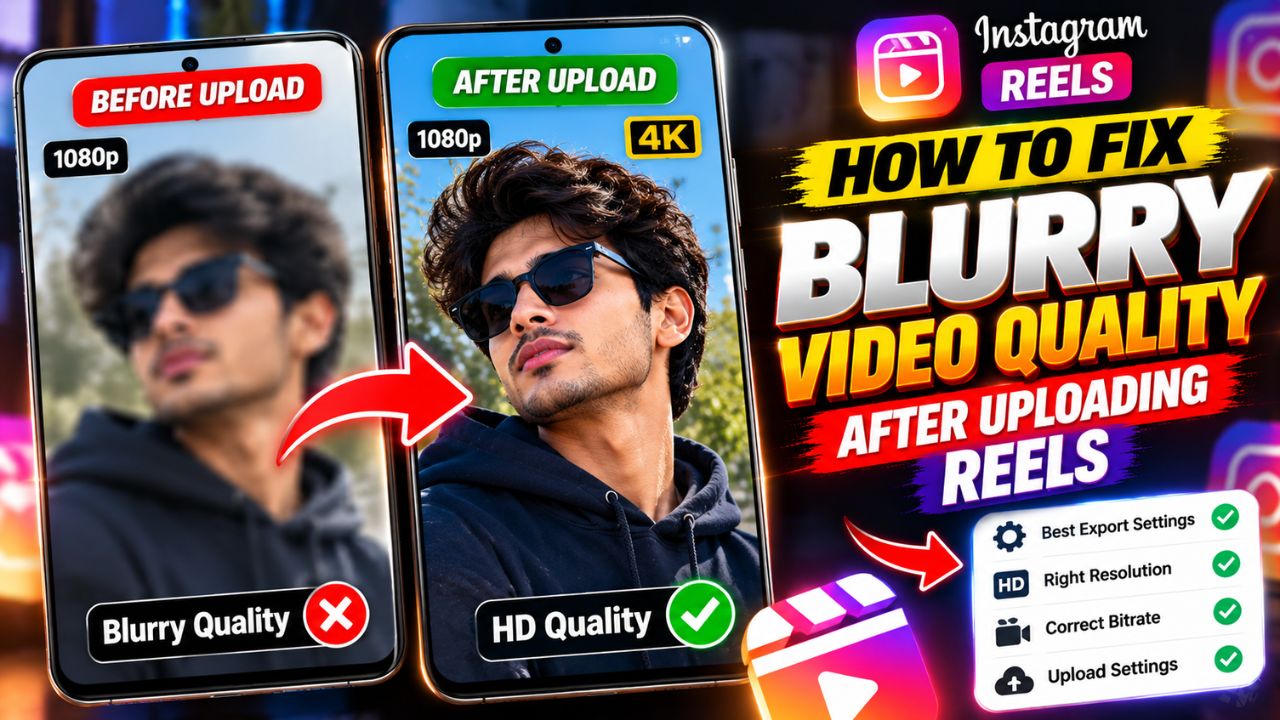
Have you ever recorded a sharp, high-quality video, uploaded it to Instagram Reels, and then noticed that it looked blurry, pixelated, or less detailed?
You’re not alone. Instagram may process your video during upload, and the final quality can depend on your original footage, export settings, internet connection, and playback conditions.
The good news is that you can often improve your Reels quality by changing a few settings and following the right upload process.
In this guide, you’ll learn how to fix blurry video quality after uploading Reels, which export settings to use, and what to do if your video still looks bad after posting.
1. Turn On Upload at Highest Quality
The first thing to check is Instagram’s upload quality setting. If this option is available in your app, enabling it tells Instagram to upload your content at the highest available quality. Uploads may take longer, but it’s worth trying if your Reels look blurry.
Follow these steps:
- Open the Instagram app.
- Go to your profile.
- Tap the three-line menu in the top-right corner.
- Find Media quality or Data usage and media quality under Settings and activity.
- Turn on Upload at highest quality.
The exact menu names may differ depending on your device and app version.
This is one of the first fixes to try when your Reels lose quality after uploading. However, it cannot restore detail that was already lost during recording, editing, or compression.
2. Export Your Reels in 1080p
Your video export settings can make a significant difference to the final result. If you export at a low resolution and Instagram processes the video again, fine details may become even less clear.
For a standard full-screen vertical Reel, try these export settings:
| Setting | Recommended value |
|---|---|
| Resolution | 1080 × 1920 pixels |
| Aspect ratio | 9:16 |
| Frame rate | 30 FPS or match your original footage |
| Format | MP4 |
| Video codec | H.264 |
| Quality | High |
| Colour | Standard dynamic range (SDR) for a consistent workflow |
These are practical export recommendations, not a guarantee that Instagram will preserve every pixel exactly as exported.
If you’re editing in CapCut, VN, Premiere Pro, or another video editor, check the resolution and quality settings before exporting. Avoid exporting a low-resolution video and then stretching it to 1080p, because increasing the dimensions cannot recover missing detail.
3. Avoid Uploading Compressed Videos
One common reason Reels look blurry is that the video has already been compressed before it reaches Instagram.
For example, you might record a video, send it through a messaging app, download the compressed copy, and then upload that version to Reels. Each compression step can remove detail.
To avoid this problem:
- Upload the original video file whenever possible.
- Transfer videos using a method that preserves the original file.
- Avoid screen-recording your own video just to upload it again.
- Don’t repeatedly export the same video through multiple editing apps.
- Keep a high-quality master copy before making edits.
Pro tip: Export your finished video once, save it to your phone’s gallery, and upload that file directly to Instagram.
4. Use a Stable Internet Connection
A weak or unstable connection can interrupt uploads or make the uploading process take longer. It can also affect the quality at which a Reel plays on your device.
Try these steps:
- Connect to a stable Wi-Fi network.
- If Wi-Fi is unreliable, try a strong mobile data connection.
- Keep Instagram open until the upload finishes.
- Avoid repeatedly cancelling and restarting the upload.
- Wait for the Reel to finish processing before judging the final result.
A slow connection does not necessarily mean Instagram has permanently reduced your uploaded video’s quality. The video may simply take time to process or load properly during playback.
5. Don’t Use the Wrong Video Resolution or Aspect Ratio
Instagram Reels are designed for vertical viewing. A practical format for full-screen Reels is 1080 × 1920 pixels with a 9:16 aspect ratio.
If you upload a small video or stretch a horizontal clip into a vertical frame, the result may appear soft or pixelated.
Before uploading, check that:
- Your video has sufficient resolution.
- The subject is not being enlarged excessively.
- Important details remain sharp after cropping.
- The video is exported in the intended aspect ratio.
- You haven’t accidentally selected a low-quality export preset.
If the original video is blurry, try recording it again with better lighting and focus. Editing cannot reliably restore detail that the camera never captured.
6. Check HDR and Colour Settings
Videos recorded in HDR can look different across devices and editing apps. Depending on how the footage is processed, colours, brightness, or contrast may change after uploading.
Meta has documented its HDR video support for Reels, including the technical challenges of displaying HDR footage consistently across different devices. You can read more in Meta’s official explanation of HDR video on Reels.
If your video looks washed out, unusually dark, or inconsistent after uploading, try this troubleshooting process:
- Check whether the original video was recorded in HDR.
- Make sure your editing app handles HDR footage correctly.
- Export a standard dynamic range (SDR) version as a test.
- Upload the test version and compare it with the original.
Don’t assume HDR is always the problem. If your video is simply pixelated or out of focus, check the resolution, export quality, and source footage first.
7. Give Instagram Time to Process the Reel
Sometimes a newly uploaded Reel may not look as sharp immediately. Before deleting and uploading it again, allow some time for processing and check the video once more.
You can also try:
- Playing the Reel on a stable connection.
- Comparing it on another device.
- Updating Instagram to the latest available version.
- Restarting the app if playback looks unusually poor.
- Clearing the app cache on Android if the app appears to have a playback issue.
On Android, you can usually clear Instagram’s cache through Settings → Apps → Instagram → Storage → Clear cache. Menu names can differ by phone manufacturer.
On iPhone, there is no equivalent universal Clear cache button for Instagram. Updating or reinstalling the app may help with app-specific issues, but make sure you know your login details before reinstalling.
Remember that a blurry preview on one device does not automatically mean the uploaded file itself is permanently damaged.
Why Do Instagram Reels Become Blurry After Uploading?
Several factors can contribute to poor video quality:
| Possible cause | What you can do |
|---|---|
| Upload at highest quality is disabled | Turn it on in Instagram’s media quality settings |
| Low-resolution original footage | Record or export a higher-resolution source |
| Repeated video compression | Upload the original or final master file |
| Incorrect export settings | Use a suitable vertical resolution and high-quality export |
| Poor lighting or missed focus | Improve recording conditions |
| HDR or colour-processing differences | Test an SDR export |
| Slow playback connection | Test on a stable network |
| Instagram processing or app issue | Wait, update the app, and test playback again |
Instagram’s processing system is not fully under your control, so no setting can guarantee identical quality for every viewer.
Still, starting with a clean source file and using the highest-quality upload option can help avoid common problems.
How to Fix Blurry Video Quality After Uploading Reels: Best Settings for Clear Instagram Reels
If you want a simple workflow for future uploads, follow this checklist:
- Record with good lighting and clean focus.
- Use a vertical 9:16 frame when appropriate.
- Export at 1080 × 1920 pixels.
- Use MP4 with H.264 encoding for a straightforward compatibility choice.
- Avoid repeatedly compressing the video.
- Enable Upload at highest quality in Instagram.
- Upload the original exported file over a stable connection.
- Check the finished Reel before deciding to delete and repost it.
These steps won’t eliminate every instance of compression, but they give your video a strong starting point.
Frequently Asked Questions
Why does my Reel look blurry after uploading even in 1080p?
Instagram may re-encode uploaded videos, and the final appearance can depend on the original footage, export settings, processing, and playback conditions. Enable Upload at highest quality and check that your exported file is genuinely sharp.
Does Instagram reduce video quality automatically?
Instagram processes videos for delivery and playback, which can change their appearance. Uploading a high-quality source helps, but it doesn’t guarantee that every viewer will see an identical file or quality level.
Is 4K better than 1080p for Instagram Reels?
Recording in 4K can preserve extra detail and give you more flexibility when cropping or editing. However, uploading a 4K file does not guarantee better playback quality than a well-prepared 1080p export.
Should I delete and re-upload a blurry Reel?
Not immediately. First, check playback on a stable connection and allow time for processing. If the uploaded video is genuinely poor and you have a better source file, you can consider exporting it correctly and uploading again.
Does CapCut reduce Instagram Reel quality?
CapCut does not automatically make every video blurry. Low export quality, incorrect resolution, or repeated compression can reduce detail. Check your export settings and compare the saved video with the original before uploading.
Final Verdict
If your Instagram Reels look blurry after uploading, start by enabling Upload at highest quality. Next, check your video resolution, export settings, and original footage. Upload the final file directly instead of using a compressed copy, and test playback on a stable internet connection.
For most creators, a clean 1080 × 1920 vertical export, good recording quality, and the correct upload setting are a sensible starting point.
Fix the quality before you upload, and don’t expect Instagram settings to restore detail that was already lost.